
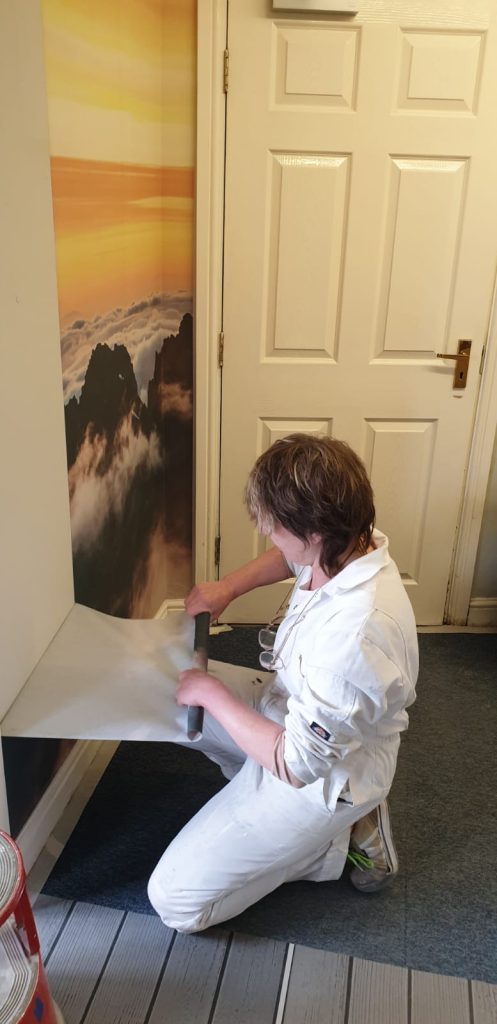
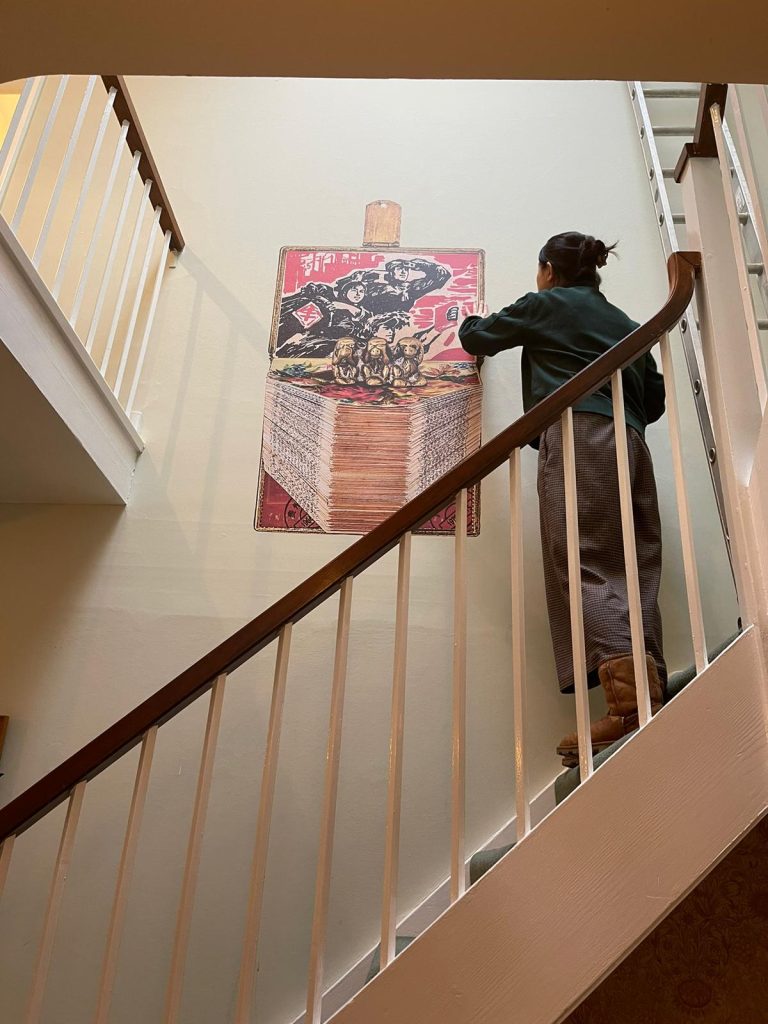
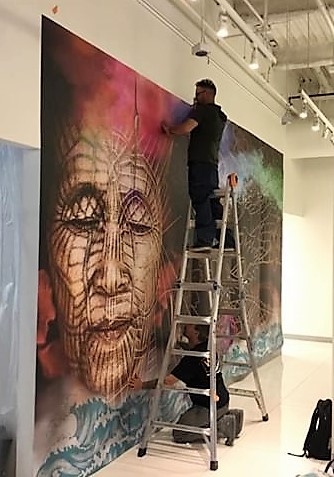
Peel and stick wallpaper has emerged as a popular and affordable alternative to traditional wallpaper, offering a convenient way to transform spaces without the need for wallpaper adhesive. Its removable nature allows for experimentation with various designs and colours, enabling easy updates and even the option to decorate furniture. It has become a favourite for both the home, office and public buildings. It’s no wonder so many people are drawn to this versatile product—it’s user-friendly and offers endless possibilities.
However, the ease of use doesn’t mean mistakes can’t happen. Even though peel and stick wallpaper is simpler to install than traditional options, errors during application can lead to frustrating results.
As the leading provider of the unique non surface damaging, residue free repositional self adhesive fabric, Phototex, we would like to help you get a better understanding and hands on experience with peel and stick wall and surface coverings.
To help you achieve a flawless finish, we’ll explore the most common mistakes people make when applying removable wallpaper and offer tips on how to avoid or correct them
Air Bubbles Under the Wallpaper
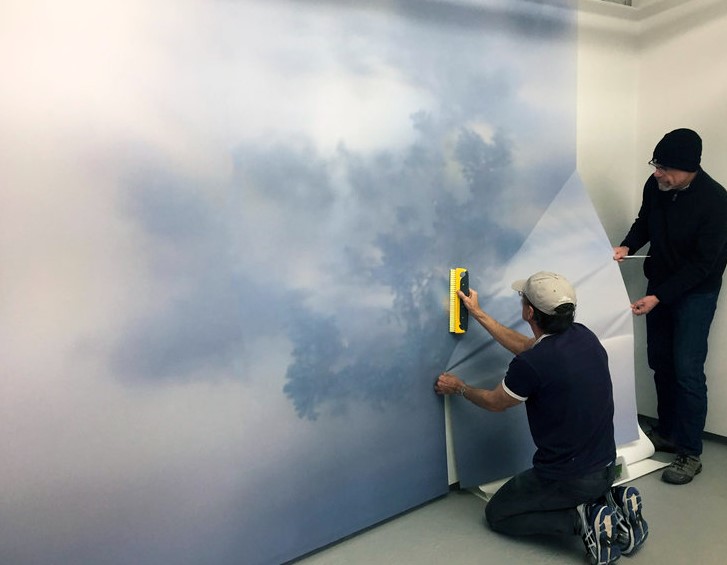
One of the most frequent issues encountered with peel-and-stick wallpaper (as well as traditional wallpaper) is the formation of air bubbles during installation. These bubbles create an uneven texture and can ruin the overall design, making the wallpaper look clumpy and flawed. While it’s possible to remove and re-apply the wallpaper, this can be time-consuming. It’s far better to get it right the first time.
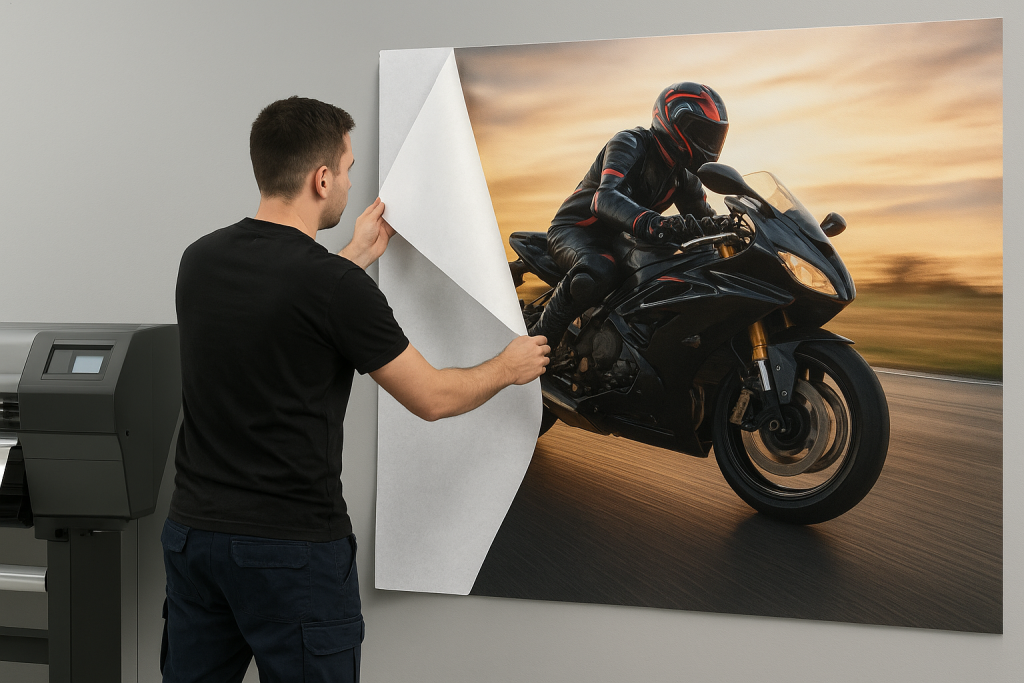
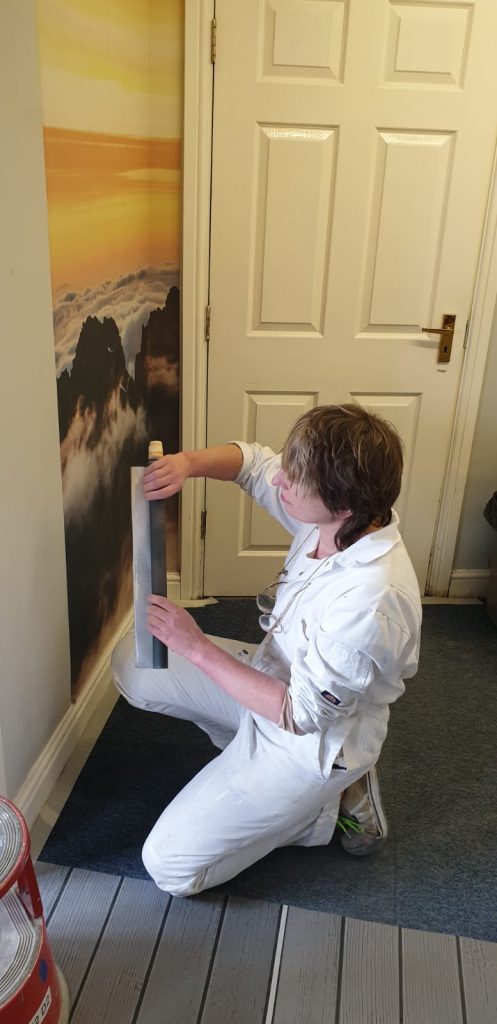
To prevent air bubbles, start by carefully removing the protective backing from the wallpaper and apply it to the wall, smoothing it out as you go with a squeegee. Work from the center of the wallpaper outward toward the edges to ensure a smooth application.
After 24 hours, it’s a good idea to go over the wallpaper again with the squeegee to reinforce the adhesion. If you do notice any bubbles after installation, don’t panic. You can use a needle to gently pop the bubble and then smooth out the area with your fingers. The needle won’t leave a visible mark, so your design will remain intact.
This is rarely an issue with Phototex but should this occur, this can also be overcome with the cleaning of the area where the bubbles have occurred and re applying afterwards.
Phototex dependable adhesive has an exceedingly reliable and dependable adhesive –
Stretching the Wallpaper
Most wallpapers naturally stretch a little during installation, but over-stretching is a common mistake that can distort the design. When faced with minor misalignments, it might be tempting to stretch the wallpaper to fit.
However, most peel-and-stick wallpapers are designed to shrink back to its original form, correcting small misalignments on its own. But PVC is liable to shrink and stretch with change in climate and atmospheric conditions.
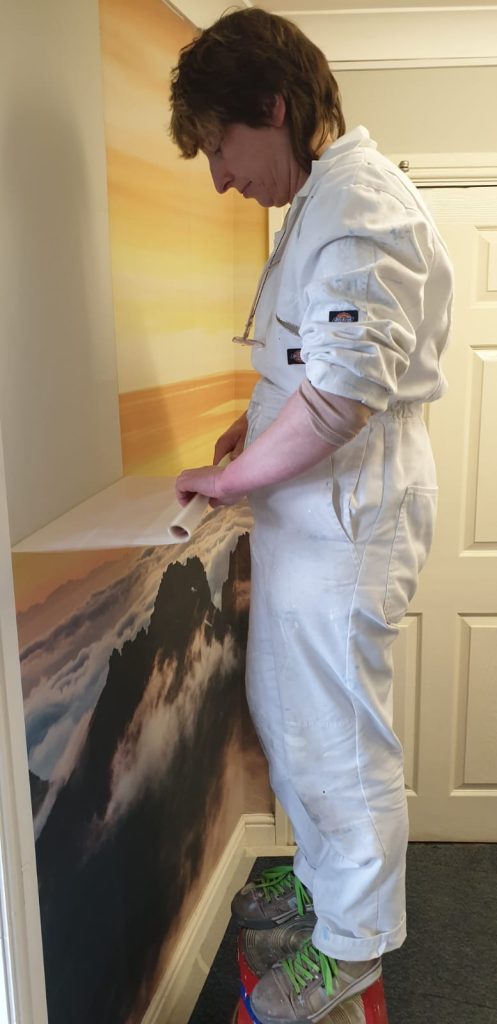
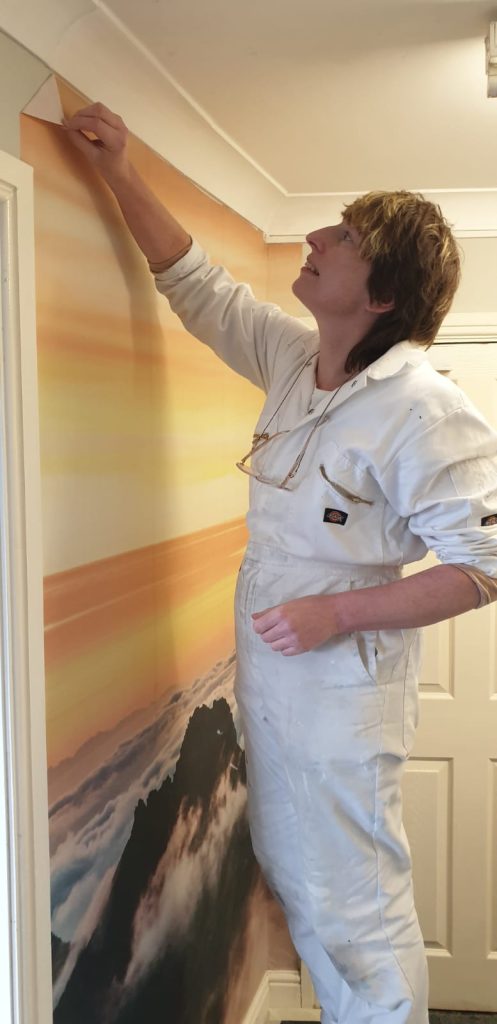
To avoid stretching the wallpaper, start by peeling back a small section of the protective backing from the top of the sheet and carefully apply it to the wall. Continue removing the backing as you press the wallpaper into place, being gentle to avoid unnecessary stretching. Be firm and consisten when pressing the wallpaper to the surface.
Check the process as you proceed to ensure the integrity of your wallpaper, and allow the wallpaper to settle naturally. Forcing it into place can cause the design to warp and may lead to a less-than-perfect finish.
Wallpaper Misalignment
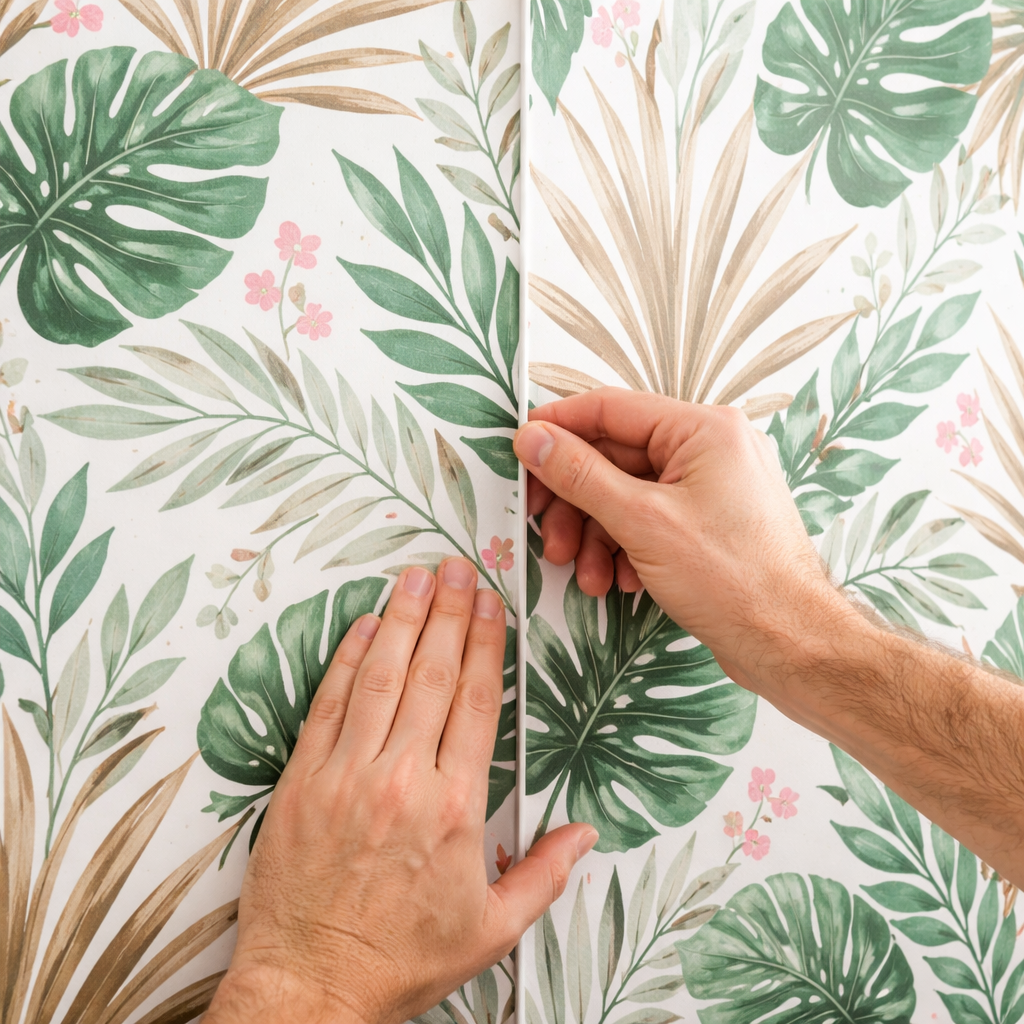
Improper alignment or overlapping of wallpaper panels can be another frequent issue. This can result in a disarray in appearance that can become quite difficult to fix. Although misalignment is rarely intentional, it can be prevented with proper planning, before you start.
Many homes and offices have walls that are not perfectly straight or don’t meet at a true 90-degree angle in the corners. Before you begin, use a spirit level to check your walls and mark where each strip of wallpaper will go. It’s also wise to have a little extra wallpaper to account for any miscalculations. Overlap and extra bleed will alleviate thes potential issues. When dealing with uneven walls, overlap the wallpaper slightly onto the adjacent wall, and once the main wall is covered, trim away the excess. This method ensures full coverage without having to patch small gaps with odd pieces of wallpaper. If your walls are uneven and you’re concerned about achieving a neat finish, consider choosing wallpaper designs with simpler patterns, which are more forgiving of minor mistakes, and lining up.
Measure Twice, Cut Once
Although peel-and-stick wallpaper is relatively easy to install, not all of them are that easy as its very dependant on the material and the adhesive. It’s important not to rush through the process, Take you time and do it gently.
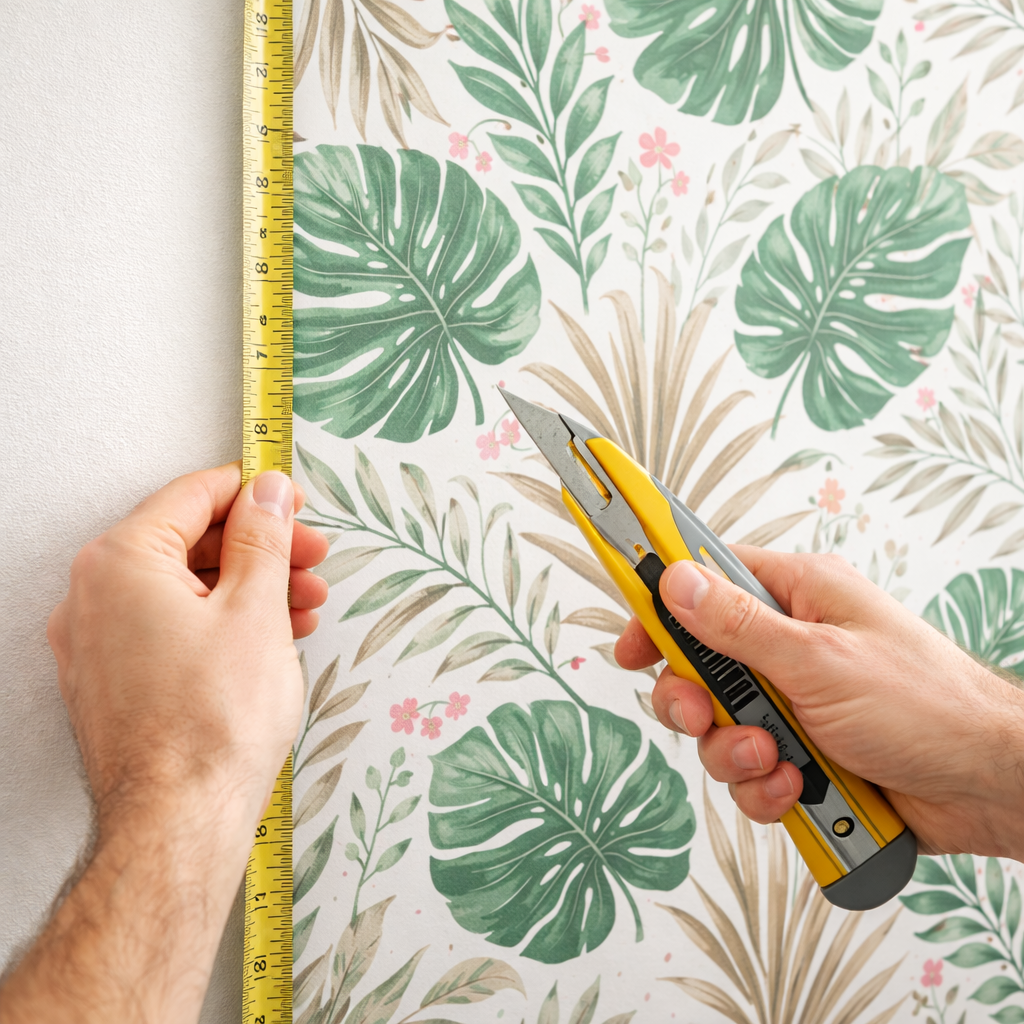
Careful planning and accurate measurements are essential to get it right, regardless of the type of wallpaper you’re using.
If this is your first time working with removable wallpaper, take your time. Dont rush it! Always read and follow the installation instructions carefully.
A common mistake is in trimming too much wallpaper or errors in measurements. It’s much more difficult to correct this after the fact, so take the time to measure your walls accurately and order extra, or if possible allow slightly more wallpaper than you think you’ll need. Custom-sized wallpaper can reduce waste and ensure a perfect fit, which is both eco-friendly and convenient.
Rushing into the Process Without Preparation
The excitement of transforming a space with peel-and-stick wallpaper can sometimes lead to missing out on important preparation steps. However, properly preparing your walls is crucial to achieving a professional-looking result.
For instance, do avoid applying wallpaper to freshly painted walls. Paint needs time to cure, and if wallpaper is applied too soon, the paint’s fumes can create bubbles and damage the wallpaper. Wait at least two weeks after painting before starting your wallpaper project. Always clean your walls thoroughly to remove any dust or dirt that could interfere with adhesion. This is especially important if the room has recently been renovated, as dust can easily accumulate on surfaces. Finally, remember that peel-and-stick wallpaper works best on smooth surfaces, so avoid using it on textured walls, where it may not stick properly.
Phototex does have an extra strength adhesive to work with textured and less even surfaces. – even outdoor surfaces!
Conclusion
Peel-and-stick wallpapers are designed to be easy to install, saving you from the mess and hassle associated with traditional paste the wall wallpapers. By following the application instructions and taking your time, you can achieve a beautiful, smooth result.
It’s natural to make mistakes, especially if you’re new to wallpapering. Getting the line up and positioning is often the most difficult to get right first time.
However, with careful planning and preparation, you can avoid the common pitfalls outlined above. If possible, enlist the help of a friend or family member—having an extra pair of hands can make the process smoother and more enjoyable.
We hope that these tips will help you create the perfect look for your space. Good luck!
If we can help you further let us know!
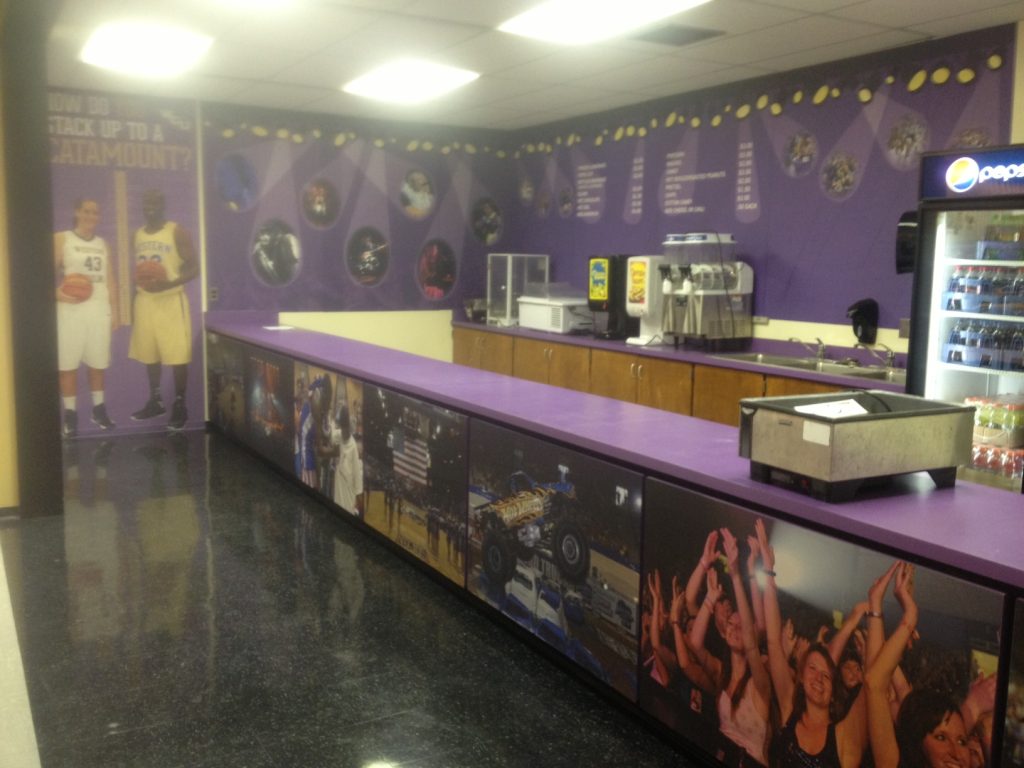
At Landor Phototex, we are passionate about decoration, art, murals, posters and inspiration through printed images and the remarkable transformation that our removable and repositionable – re useable and recyclable Phototex self adhesive can do for your home, office, retail outlet conference centre or film studio to mention a few.
If we can help you with your next wallpaper project or art installation, please get in touch.
Free printed samples for test purposes are availabe here: samples@phototex.co.uk
or Call us now to discuss your next project or to assist you with any challenges you may have
 English
 French